
Just got a new pair of Vans and want to add a personal flair to them? Or maybe you have some old Vans desperately needing a fresh new design. Either way, you’re not alone. Vans creates a plethora of different styles that are perfect for customizing. While you can shop online for customized Vans, a lot of people prefer to customize their shoes on their own, making a work of art unique to them.
Many of us like to find new ways to tailor the things we use or wear to our personal style. It’s just more fun and enjoyable that way, plus it makes your belongings a little more yours. However, it’s not always easy to do so. Fortunately, Vans are one of the most ideal shoe choices if you’re looking to create a new, fresh, and unique look. They’re durable, trendy, and are extremely easy to paint on. Add other embellishments or some unique decorations, and you have one-of-a-kind kicks to rock on.
If you’re searching for creative yet easy ways on how to customize Vans shoes, you’ve come to the right place! Below we have outlined several different techniques you can use to make your new (or old) pair of favorite Vans a little more you.
Fresh Kicks Daily!
Delivering the latest and most stylish sneakers. Receive emails featuring the spotlighted pair of the day!
Picking Out The Perfect Vans Shoe Design
How to customize Vans shoes depends on what style of shoe you own. Before you begin the actual process of customization or even getting the supplies you need to implement your specific design, you must get the suitable shoes for you to work on and apply your chosen customization. Different Vans sneakers may be more appropriate for one kind of styling, while others may prove easier to work on when applying other styling types. There are many options to choose from, and you can pick one according to your preference. According to Who What Wear, the most iconic styles that “every fan should have in their collection,” are Old Skool, the Slip-On, Sk8-Hi, Authentic, and Checkerboard. Here are a few commonly used designs:
- Slip-Ons: These shoes have a wider and clearer upper area with fewer cuttings in the design, so they provide the perfect mini-canvas for painting. You could draw a character, scenery, or a pattern and just paint it. These are also quite suitable if you’re looking for shoes good for air-brushing.

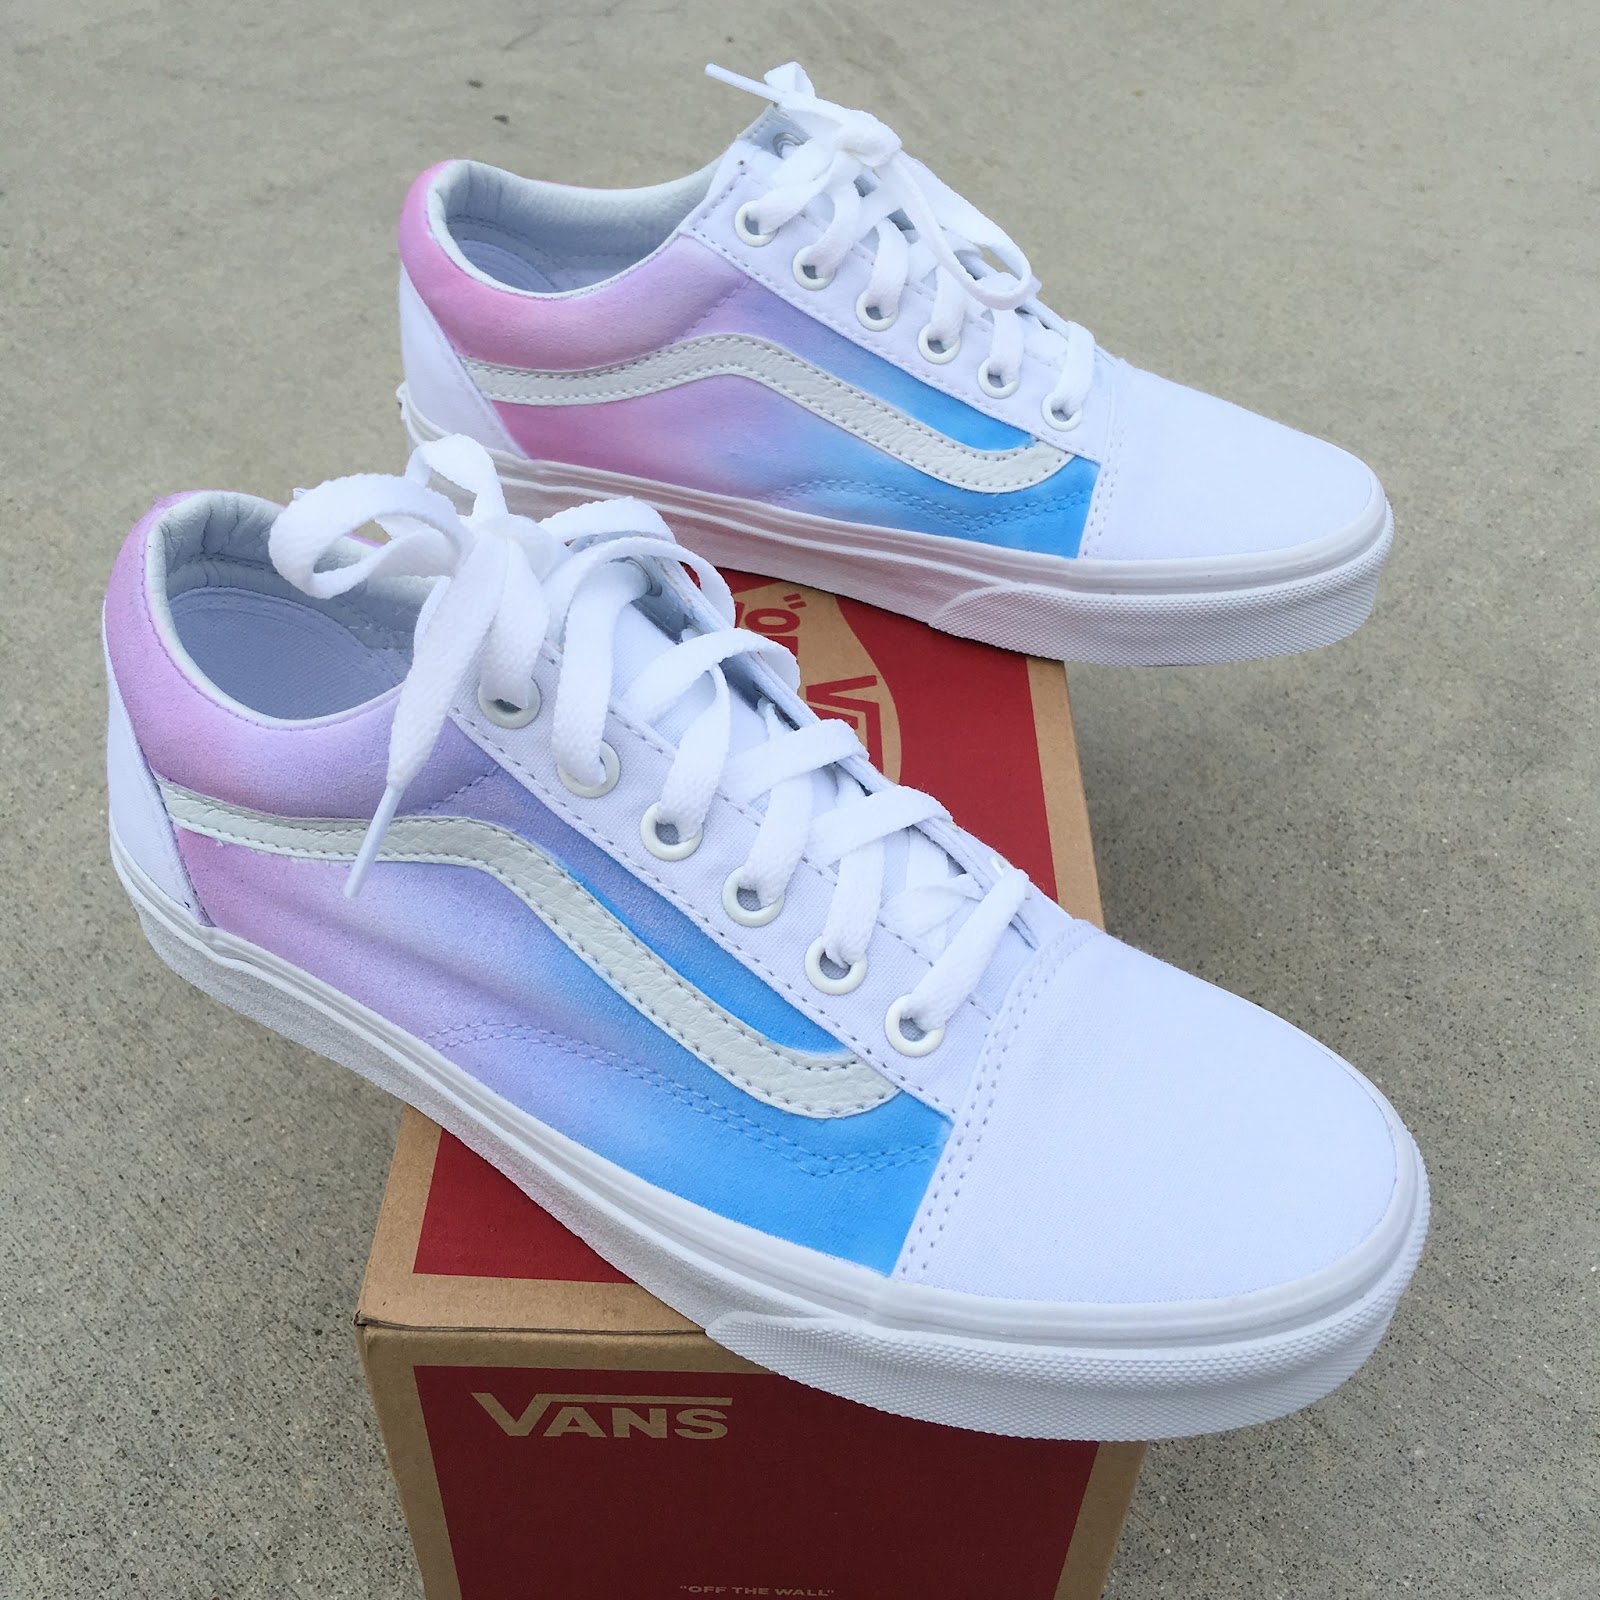
- Old Skool: This classic design is versatile, and you can implement almost anything on it. They’re particularly useful if your design involves hydro-dipping or any sort of be-dazzling like adding studs etc.

- Sk8-Hi: If you’re going for something simple, easy, and chic like doodling designs and using a Sharpie, you should go for these. They’re also suitable for hand-painting and adding other decorative, shiny emblazoning.

These are some of the well-known choices, but you don’t need to limit yourself to them and get some other model if you like that more. You can find these and several different designs at Vans Online Store.
Let’s get started!
There are a few different techniques on how to customize Vans shoes to completely transform their look, including hand-painting, hydro-dipping, Sharpie, adding studs, etc. With the right materials and equipment, you could easily follow any of these separately or use them in combination with each other to create something entirely new and unique. Each of these different techniques further provides hundreds of different abstractions with different colors and themes. If you need some inspiration, you can look at what customized Vans are already out there and try to recreate or make the design your own. You could also let your imagination roam free—try some funky, random designs.
You can find the best quality supplies for a reasonable price at Angelus Shoe Polish. Their products are tried and tested, and worth the money. Their products are also available on Amazon, and you can get them from anywhere in the world.
Hand-Painted Sneakers
Hand painting is probably the most widely used procedure when it comes to customizing any type of canvas shoe. Hand painting your Vans allows you to go into a lot more detail and explore a lot more color ranges than other techniques.
Supplies
For this, you’ll need:
- Angelus 2-soft or 100% Acetone nail paint remover as prep solution.
- Leather paints
- Masking tape
- Heat-gun or blow-dryer
- Both flat-tip and point-tip paint brushes
- Angelus matte-acrylic finisher
- Graphite paper (for stenciling)

Method
- Start by taping off the edges, soles, and any other place of your shoes where you want to avoid getting paint on.
- Apply 2-3 layers of prep solution using cotton. This makes it soft, flexible, and helps the paint bond to the canvas shoes. Dry between each layer.
- Free-hand draw your design or trace it on a piece of paper and then transfer it on your shoe using graphite paper.
- Once you’ve clearly outlined your design, start painting! Begin at the boundaries or edges using a point-tip brush, then move to the inner regions and use a flat-tip brush here.
- You can also use shading techniques for the background. Make sure to apply thin coats and let each coat completely dry before starting the next. Use a heat gun or blow dryer for this purpose. You’ll need 4-5 layers.
- In the end, just apply a layer of your matte finisher to prevent chipping and making the paint last longer.

For a more detailed explanation, you can refer to Whitney Esther’s YouTube video. She not just goes into detail about the process but also demonstrates it through an example. You can use this general method for all sorts of designs: characters, sceneries, patterns, etc.
When it comes to painting shoes yourself, you don’t need to limit your design to Vans. Check out our guides on hand painting Converse or hand painting Air Force 1s.
Airbrushing
If your design involves fading color technique, gradients with different colors, or subtle color mixing like in a picture of the galaxy, drawing the sky, or painting flames, airbrushing is the perfect technique. You can also use it to implement character designs that are more complex or involve more intricate detailing.
Supplies
You’ll require an airbrush first, which you can get from any crafts store or even from your nearest Walmart. You can also order an airbrush with the features you like on Amazon. There are all sorts of options available, and to know which one suits you most, read about some of the most used airbrushes on Advice bloggers article. Other than this, here are a few things you’ll require:
- Angelus 2-soft or 100% acetone nail polish remover
- Angelus 2-thin
- Acrylic Leather paints
- Masking tape
- Paint-strainer
- Angelus (or any good quality) brush cleaner.
- Matte-acrylic finisher
Method
- Make sure you carefully tape off the edges, soles, the inline of your shoes, and any other part that should stay paint-free.
- Use Angelus 2-soft with flat-white paint mixed in a 1:1 ratio to apply on your shoes and prepare it for airbrushing. The flat white just makes the other paint color pop more and gives a more accessible base to work on. You can just use Angelus 2-soft for flexibility and to help the paint bond.
- At this stage, depending on your design, there are two ways to proceed:
- If your design has some characters or defined outlines and boundaries, use masking tape along with print-outs of your design to transfer it onto the shoes. While doing this. Start from the outermost edges, airbrush them and gradually move to inner details. We recommend watching JBo Airbrush’s video that does a fantastic job of explaining it for better understanding.
- If your design is a simple fade or blend of some colors, you can move straight to air-brushing. For this for the middle, meeting part of your different colors, use a 1:1 mix of your two blending colors at the seams to make it look flawless and avoid harsh lines.
https://www.pinterest.com/pin/92042386122205682/
- Getting the correct consistency is extremely important in airbrushing. The paint’s viscosity should resemble that of milk. If your paints are new, they’ll probably be fine, but if they’ve thickened up, use Angelus 2-thin to get it right, it’s usually a 1:4 ratio (1 for 2-thin).
- Pass your mixed paint through a strainer to remove any clumps.
- Pour your paint in the airbrush and use it to paint over the desired regions. Remember to clean your airbrush using a brush cleaner when changing colors and when ending. For the complete procedure, check out Jay Adan’s Youtube video.
- In the end, apply the matte-acrylic finisher and remove all the masking tape.
Airbrushing can seem quite tricky, especially for beginners, so if you need more tips on this, see DeJesus Custom Footwear’s video and YouTube channel, a pro at this method.
Hydro Dipping

Hydro dipping, also known as water marbling or immersion printing, is a process in which water is used to transfer images on to your shoes. Because of its fun and easy application, it has become quite trendy recently, especially when customizing Air Force 1s. It’s commonly used when making funky, mixed-color unique patterns or creative art. You could color contrast and give a cool, hydro look to your Vans.
Supplies
Hydro dipping your shoes is relatively inexpensive, and you can get all your materials on a small budget. Here’s what you’ll need:
- A small tub
- Painters tape
- Rust-oleum spray paints or any sort of acrylic spray paints (you can get them at any crafts store or online)
- Gloves
- Face-mask (to protect against any harmful fumes)
- Matte-acrylic finisher (optional)
- Shoe-cleaner (optional, only use if your shoes are old)
Method
- If your shoes are old, clean them with a shoe cleaner first, using a shoe brush or cotton.
- Tape off the soles, inner areas, tongue, sole, and the tongue of your shoes using painters tape. Also, tape off any plastic regions or any other part you don’t want to be painted.
- Fill your tub with water deep enough to immerse your shoes in completely. Also, make sure the water is warm; otherwise, the paint won’t adhere properly.
- Now spray paint your different colors on the surface of the water. You can spray them on top of each other or on different water areas and then swirl them together.
- Slowly dip your shoes in this water to make sure the paint sticks and then take them out, again slowly.
- Let your shoes dry and then remove the tape.
- You can apply a matte-finisher layer on top to ensure that the paint doesn’t wash away and stays fresh longer. And all done!
You can use any paint colors you like; usually, 3 or 4 colors are chosen and then mixed. You could do a sunset, a forest, or an ocean theme! If you’re looking for a video tutorial, Skirt’s YouTube video does a great job of explaining it.
Drawing On Your Vans
If you’re looking to style your shoes into something that is more streetwear and has an edgy or modern doodle art vibe to it, you can simply draw a custom design. If you want to customize your Vans shoes with smaller details, drawing is the easiest way to go as there are little materials needed and you can get into a lot of detail easily.
Drawing
For this, you only need a pen that is water-resistant and doesn’t bleed when applied to the cloth. Micron pens are the best to use when you customize canvas shoes. Similar to Vans, you can customize Converse canvas shoes with micron pens. Clean the surface of your shoes, make sure the surface is elevated, and start doodling! For a video tutorial, check out The Joyce Collective’s video on the method.
https://www.pinterest.com/pin/612841461787069516/
Using Colored Sharpie
Supplies
- Sharpie markers that you can get at Stained by Sharpie.
- Rubbing alcohol
- Eye-dropper (optional)
Method
Use the various colors of Sharpies to draw the pattern you want on your shoes. It’s better if you draw these hand free since Sharpies are more akin to a sharp paintbrush rather than something less detailed, like watercolor. Once you’ve drawn your general pattern, you can slowly add a few drops of rubbing alcohol over your design to mix the colors and get rid of harsh borders. Not all Sharpie shoes need alcohol, it just depends on how much blending you want. You’ll find the complete process on Xavier Kickz’s video.
Add Some Bling To Your Shoes
Want to make your shoes look fancy, shiny, or illustrious? Or maybe you want something comfortable but also has a formal touch to it? Like something you could wear at prom, but it would fit in and not look too casual? Customize your Vans shoes with crystals like Swarovski or rhinestone to make them perfect for you!
Supplies
- E6000 glue or any strong industrial adhesive or glue that’s long-lasting and easy to use for crafts.
- Swarovski crystals or rhinestones (you can order them from Amazon in any color and size)
- Masking tape
- Toothpicks or any other tool that would help in setting the crystals at the correct position. (optional)
Method
You can add crystals over your entire shoes, over specific areas, or in any particular pattern like a checkered pattern. First, determine your pattern and then tape off the regions you want to keep empty. After this, start applying small amounts of glue to the parts you want to cover and quickly place the crystals of your choice on top, maneuvering them to their specific place using toothpicks. Let it completely dry, and you’re all done! You can even use rhinestone threads and experiment with different colors.
Keeping Your Vans Clean
Now that you know how to customize your Vans Shoes, it’s time to show them off to the world. So how do you keep them in tip top shape? Thankfully, we’ve created a guide on cleaning customized and hand-painted shoes which you can find here.
Too much work?
If you’re creative juices aren’t flowing, you can always buy a pair of hand-painted sneakers from an artist near you!
Fresh Kicks Daily!
Delivering the latest and most stylish sneakers. Receive emails featuring the spotlighted pair of the day!